The solview tool includes the capability to create the software selection part of a Solaris jumpstart profile. Here's how to use it.
To invoke it, you need both solview and
Solaris (or Solaris Express) media. I use the DVD iso images, from
which I run setup_install_server to copy them onto my
install server(s). Using actual DVD media should work, but is likely to
be slow. Really slow.
What you need to do is use the profile subcommand to solview and
point it at the distribution directory. That would be the directory you
gave as an argument to setup_install_server earlier.
./solview profile /install/nv70
After a little while, you'll get asked to select a metacluster:
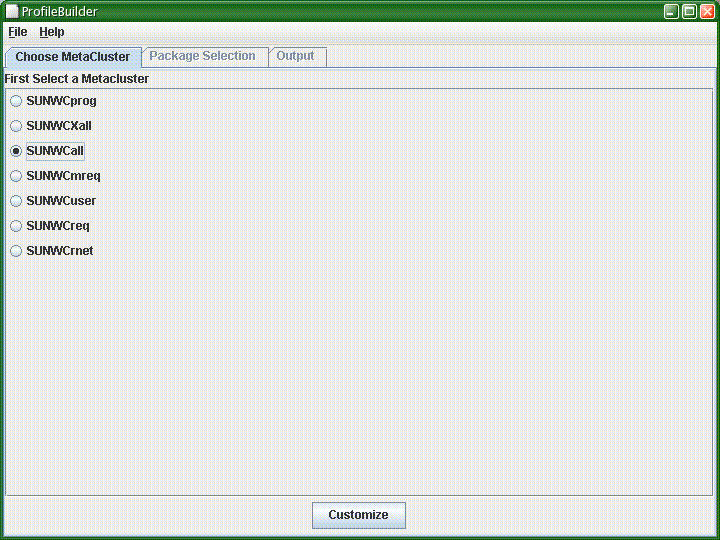
There's one little gotcha here: you can't use SUNWCmreq to build a profile, so don't select it if you want to generate a functional profile. It is, however, useful if you want to explore the various clusters and how they're built up.
Having selected a starting metacluster, the Customize button becomes active and you can click it to move on to customize the software selection.
(My preference is to start from either SUNWCrnet when I want a minimised system and add the extra bits I need, or if I want a fully functional system to start with SUNWCall and cut out the rubbish. I find the user and prog clusters to be essentially useless.)
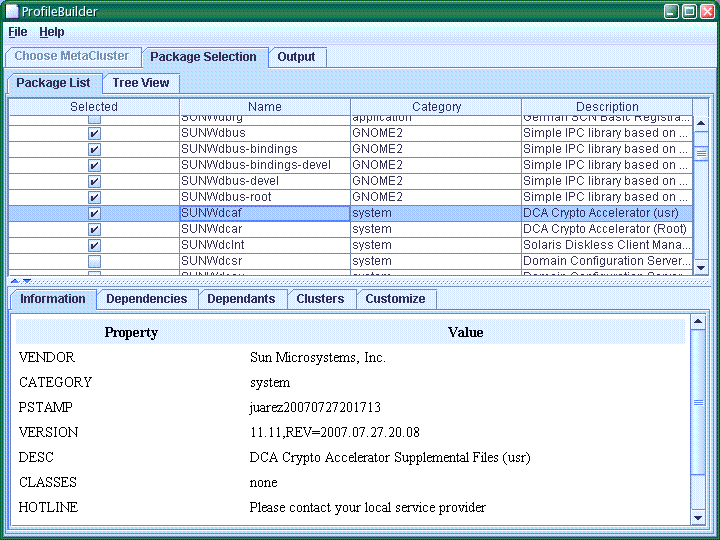
You then get into the package selection screen, which has two views. You can have a simple list:
or you can have a hierarchical view:
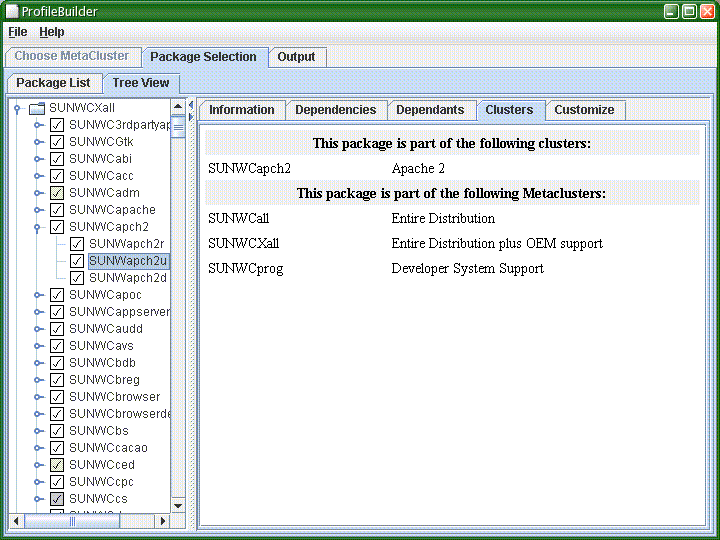
In either case, if you select a package or cluster, the details in
the various tabbed panes get filled in. In the list view above you can
see something like pkginfo output; in the tree view above
you can see it showing which clusters and metaclusters (if any) a
component is part of.
A note on the tree view. The tree view shows all available metaclusters, and the tree they expand to is what that metacluster contains. If you expand the metacluster you started from, then you see exactly that metacluster's contents, and they should all be selected. If you expand a larger metacluster than the one you selected, you'll see some clusters and packages unselected that are present in the larger cluster. This can be a good way of looking at the differences between the metaclusters.
The checkboxes are there for information only, to display what's currently selected. Despite appearances, they can't be used to select and deselect anything.
In the tree view, dark grey checkboxes indicate software that you can't deselect (the contents of the SUNWCmreq metacluster). Light grey indicates clusters that aren't wholly mandatory but that contain packages that are.
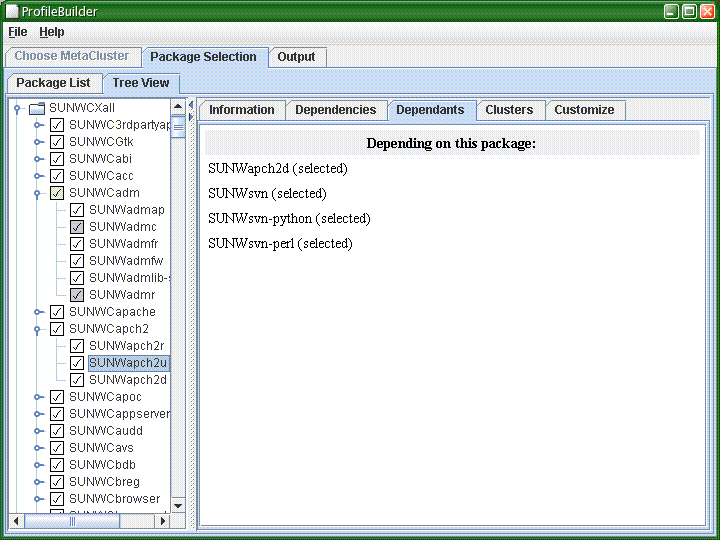
One important thing the profile builder does is track dependencies. It can show you those packages that the currently displayed package depends on:
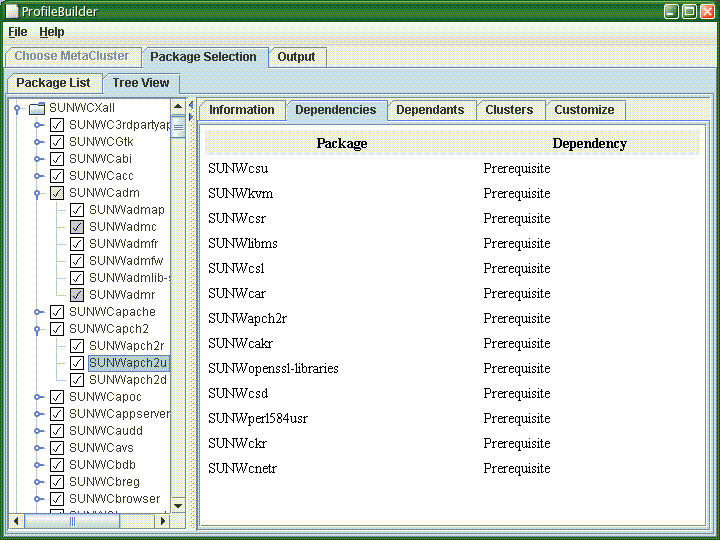
And also which packages depend on the one you're looking at:
OK, so now you're ready to create a customized profile. To modify whether the package or cluster you're looking at is installed by the profile or not, select the Customize tab.
If you do try and customize something that is presently selected for installation, it'll look like this:
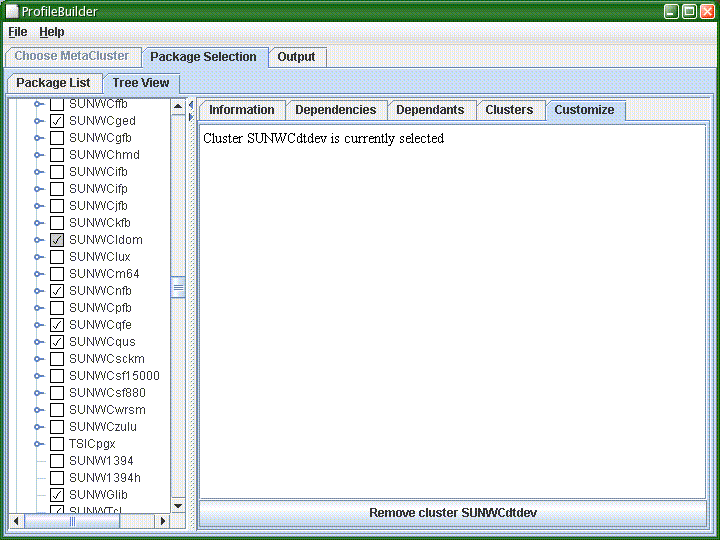
Click the big Remove button and it will be deselected. If there are other packages that depend on the packages or cluster you've just removed, they'll automatically be removed as well.
Adding stuff works the same way. Suppose I want to add evolution to the SUNWCrnet cluster:
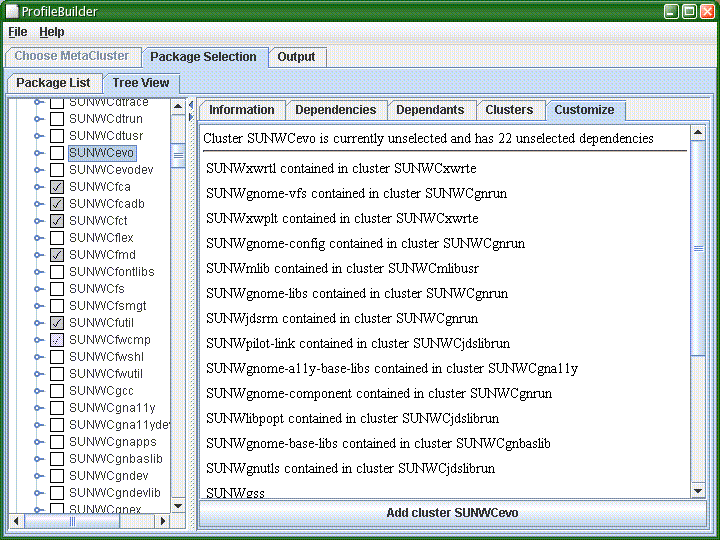
Hit the Add button here and it will add all the missing dependencies to the profile automatically recursively.
Once you've tweaked away, go to the Output tab, and then you'll see:
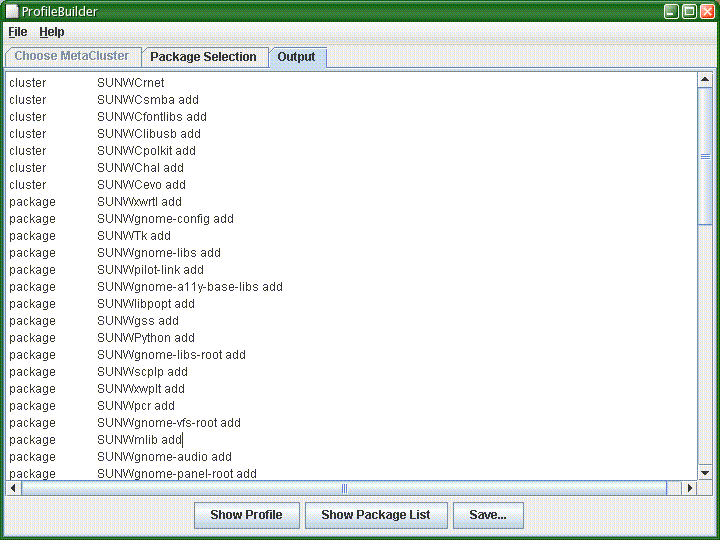
Note that while the dependency resolution is only in terms of packages, it's managed to collapse the package list back into clusters where it can.
It's pretty explanatory from here. The Save button allows you to save the profile (remember - it's only part of the profile, and you'll need to add the rest of the keywords and the filesystems to make a complete profile). And you can also see a plain list of packages.
If you have an existing profile that you would like to import, then supply it as a second argument to the profile subcommand:
./solview profile /install/nv70/Solaris_11/Product /path/to/my/profile
The profile will be read in and used to populate the software selections. Any errors or warnings generated in the import process will be shown on the first screen.
The profile will be corrected so that software dependencies are automatically satisfied. The way this is done is that missing dependencies are added back. My experience is that this procedure simply eliminates many of the customizations you make; I would like to offer the option of telling you what the dependencies are and offering to remove the software that's pulling the software back in.